|
Simple Tachistiscope |

|

|

|
||
|
Simple Tachistiscope |
|
|

|

|
Simple Tachistiscope
|
Simple Tachistiscope |
|
|
|
||
|
Simple Tachistiscope |
|
|
|
|
Tachistiscope is a question type used for determining the important elements in visual stimuli, word recognition, testing copy etc..
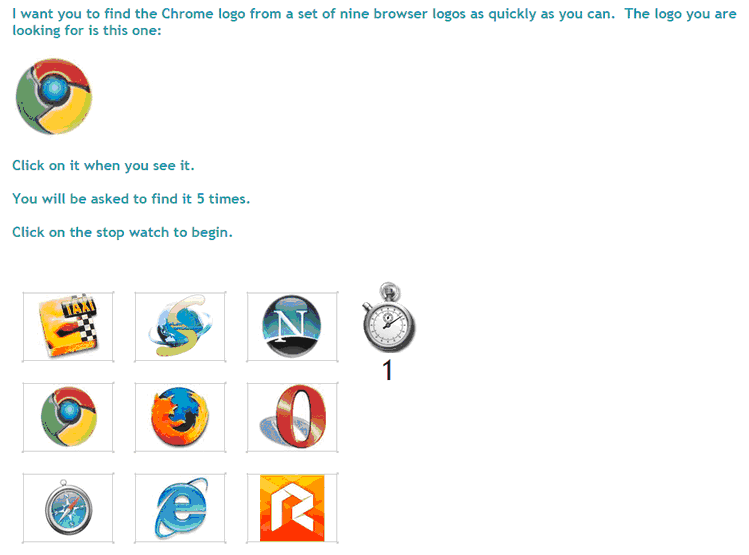
In essence it is a game. A game that requires the respondent to find a nominated image, word or text from a set of stimuli as fast as they can. The faster the target stimuli is found the better.
When testing multiple stimuli in a series of multiple 'Tachistiscope' questions one against another - the designs that poke out the most will record the shortest average find time over the selected number of iterations.
Below is an example. It is testing how quickly the Chrome icon can be found amongst a set of internet browser logos. They will do this 5 times. After each iteration the images are randomly re-distributed.
Another question would test another brand design for Chrome and compare the two. The faster the average find time the better the design attracts attention and bounces off the shelf. An important consideration for FMCG products.
Question Elements
Enter the Name and Label of the question. Then enter:
 : Enter the question text by clicking on the Question Text icon. A rich text editor box appears where you type your question. You have full rich text control over the question formatting.
 : Enter the instruction text by clicking on the Instruction text icon. A rich text editor box appears where you type your instructions. You have full rich text control over the question formatting.
 : Causes the following question to appear on a new screen (default) Un-click this box to turn off Page Break and cause the questions to appear on the same screen or page, one under each other.
 : If this box is checked then the question must be answered by the respondent to continue with the survey. Note the default setting is ‘True’.
Add Answers (the Stimuli)
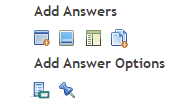
 Add Text Answer: The first icon allows you to enter an un-formatted text column heading. You can cut and paste the text into these column heading boxes from MS Word without worrying about the Word formatting coming across. The default theme formatting will be applied which is suitable in most cases.
 Add Answer Images: The second option opens the image library. Select the images you wish to use in the grid by clicking on and selecting the appropriate images. Note that you can upload new images to your library from this option also.
 Add Rich Text Answer: The third option allows you to create a rich text column heading. Clicking on this icon creates a placeholder - you then click on this placeholder to open the rich text editor and type in and format your column heading.
 Add Answer Frame: Clicking this icon will open a pop up text box that will enable you to cut and paste all your column headings from another document in one go. Each column heading must be on a separate line. Any document formatting from the original document will be deleted.
Add Answer Options
 Answer name: Click to input the names you wish to give each question which will also appear in the data extract when you download the data.
 Fix position: Click on this option to select the columns that you wish to lock in position when using the randomize option. For example you may wish to lock an answer such as Not Applicable as the last column.
Format Your Question Further by Setting Parameters
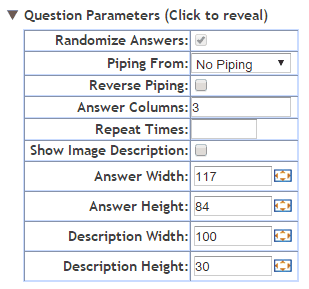
Randomize answers: Select to randomize the answers presented to the respondent.
Piping from: Used to populate the answer fields with the answers selected by a respondent at an earlier question.
Reverse piping: populates the answer fields with all the answers from a previous question that were NOT selected.
To use simply select from the drop-down the previous question that contains the answers you wish piped.
NOTE: To construct a more sophisticated piping regime based on several previous questions use a Pipe question type.
Answer Columns: Arranges the answers into the designated number of columns. If you have nine stimuli then arranging them into three columns will cause a 3 by 3 grid to be presented..
Repeat Times: The number of times you want the respondent to repeat the task. After finding and clicking on the image the first time the images will be re-arranged at random and the process done again. It will continue for the number of times you select here.
Show Image Description: Will cause the description of an image to be displayed when image answer types are used. Note that the image description needs to have been created for the image in the image library first before loading the image. If you create the image label after the image has already been loaded as an answer you need to re-get the image. This protects the integrity of the image answer and means that with care the same image can be used in several questions with different labels.
Resizing Images:
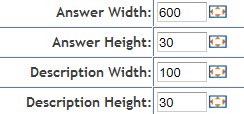
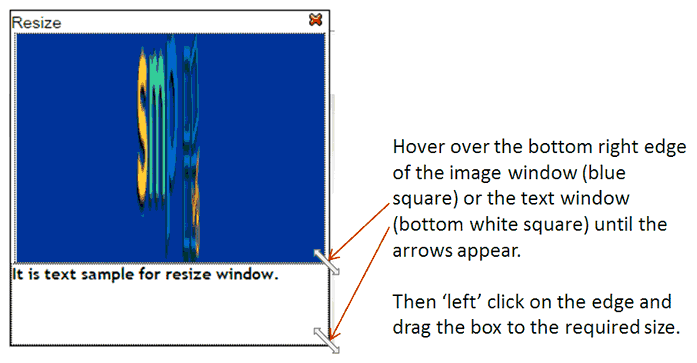
These options all allow the user to define the height and width of the answer values whether they are images or text. This can be achieved by either typing the exact number of pixels desired for the width and height or by clicking on the box image which causes the following pop up to appear. Once this pop up appears the size of the answer and/or description of an image can be set by dragging the pop up boxes to the desired widths.
Hover over the bottom right hand edge of each box and drag to the desired size.