|
Sending survey invitations |

|

|

|
||
|
Sending survey invitations |
|
|

|

|
Sending survey invitations
|
Sending survey invitations |
|
|
|
||
|
Sending survey invitations |
|
|
|
|
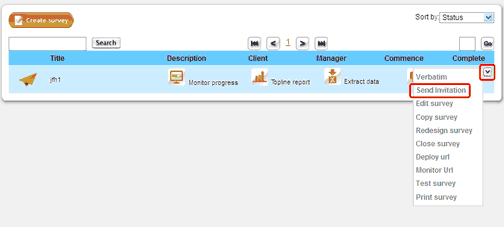
Sending an invitation to your panel is done by selecting the "Send Invitation" option from the drop down list of the deployed survey that you wish to send. This is found on the drop down menu of hover menu bar of the survey of interest. The location is seen circled in red below.
Selecting "Send Invitation" will result in the following rich text editor pop up.
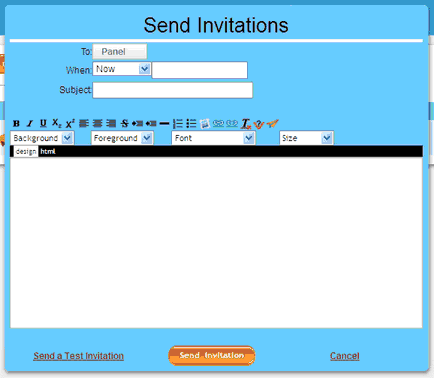
To complete this screen do the following:
1. Click on "Panel" and select the panel you wish to use from the list of panels provided.
2. Select when to send your survey - either Now, or use the calendar to schedule a time.
3. Enter a subject in the Subject: text box.
4. Compose your invitation letter using the rich text editor text box. When you are finished it should look something like this.
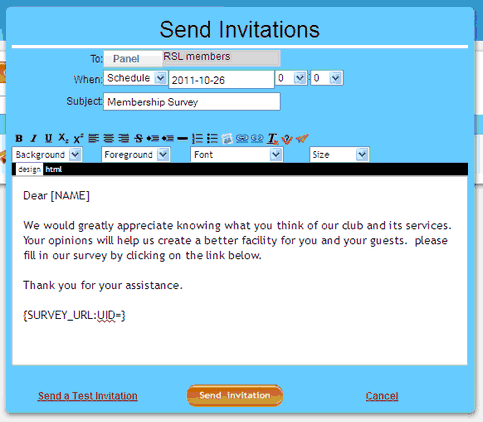
Note several important automatic features that most invitations will have.
Firstly the [NAME] symbol above. This is an embeded item that will automatically cause the "NAME" variable to be inserted in your letter. You can embed any field from the Panel into the letter. To do this click on the embed symbol ![]() and select the field you wish to appear in your letter from the drop down list of available fields.
and select the field you wish to appear in your letter from the drop down list of available fields.
And the one important item that needs to be embedded is the survey link. To do this position the cursor were you believe the URL link should appear and press the embed link symbol ![]() . This will cause the {SURVEY_URL:UID=} to be inserted.
. This will cause the {SURVEY_URL:UID=} to be inserted.
Note: If you prefer to test your invitation first before releasing to the entire panel then click on the "Send a Test Invitation" link. This will cause the following pop up to appear.
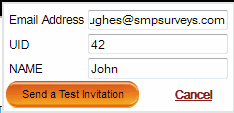
Fill in the details and click on "Send a Test Invitation".
Note: To send your invitation with a recorded panel member user ID then you will need to embed a unique identifier into the survey link. See the next chapter for details about how to achieve this.